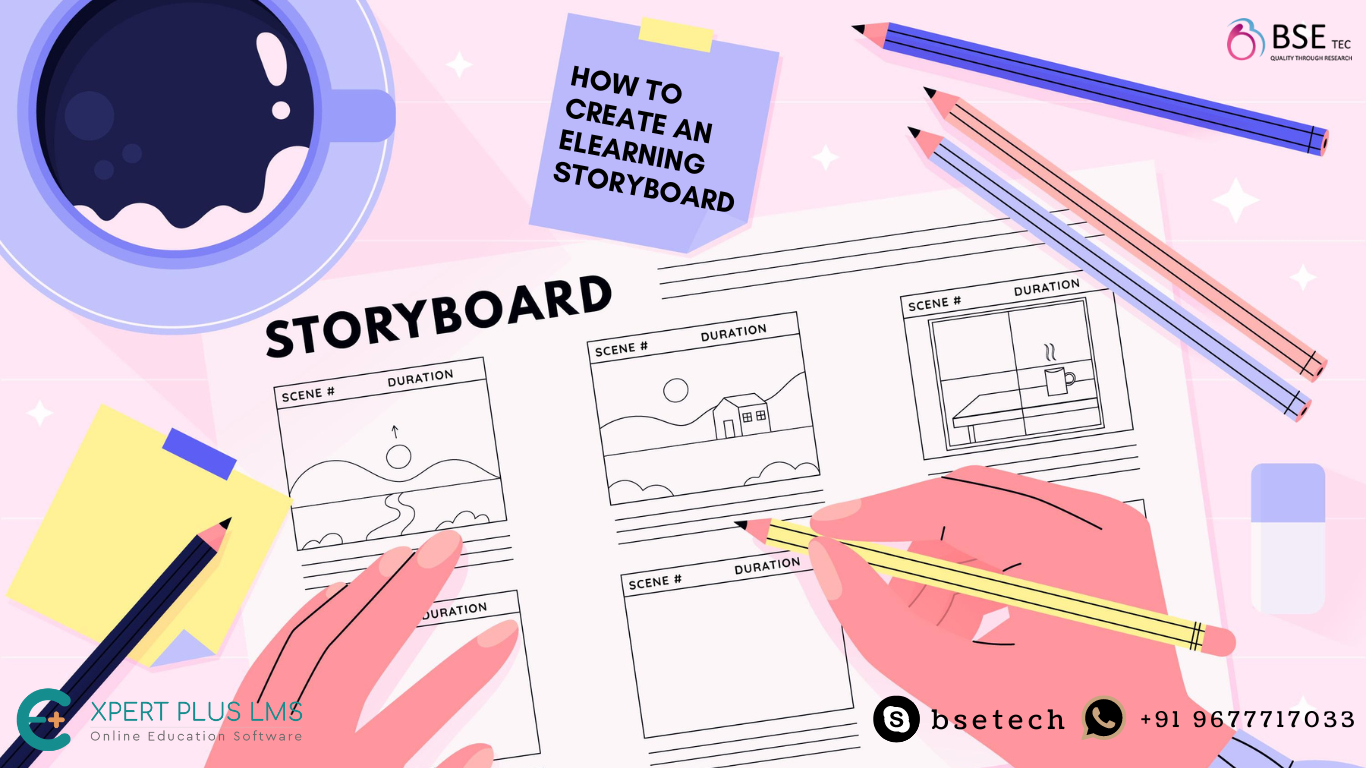
How to Create an eLearning Storyboard

As the name implies, a storyboard tells the story of your training course. It is a document, slide deck, or prototype in which the instructional designer or training developer outlines the framework for the eLearning course they intend to create. We’ll walk you through the process step by step, with examples, so you can use it as a guide when creating your own storyboard.
- Step 1: Determine your Target audience and requirements: Based on the niche or the desired course content, identify the target audience for your course. Based on the course determine your course requirements. It’s time to analyze your content after you’ve determined what kind of training is required and who your target audience is. This step is crucial as it is essential to know whom you are teaching only then you can design a course in accordance with them.
- Step 2: Select an instructional technique/design strategy: There are numerous instructional strategies from which to choose. Active learning, assessment-based, group-based, advanced strategies, organizational, and tiered are some of them.
- Step 3: Collect and organize content: Consider what resources you have to work with at this point. What reference or learning materials have been made available to you? What assets are available, such as photos, graphics, charts, software simulations, and so on? This material should be cataloged or stored in a folder structure with naming conventions that make it easy to find and organize. You should also consider what elements are required to tell the story of your course.
- Step 4: Choose a storyboard template: You should be able to determine the type of storyboard you will use based on the work you completed in the first three steps. Many websites offer free storyboard templates, also you can customize storyboard templates that are readily available in Canva.
- Step 5: Add and arrange content: This is the time when the real work begins! Begin by adding content and arranging it in the screens or text columns of your preferred storyboard type. Consider the content order and which topics should come before or after others. Interactions, scripts, progressions, navigation, branching, and design details should all be added.
- Step 6: Select an authoring tool: In eLearning, authoring tools give you tools and templates to create your eLearning course quickly. They help to create interactive multimedia learning experiences without any prior coding knowledge.
We hope that this article piqued your interest in storyboarding. Keep these points in mind to make your first storyboard memorable. ExpertPlus LMS, a 100% white label udemy clone script, can be used to launch your own eLearning course platform. For more information, please contact BSEtec.


